
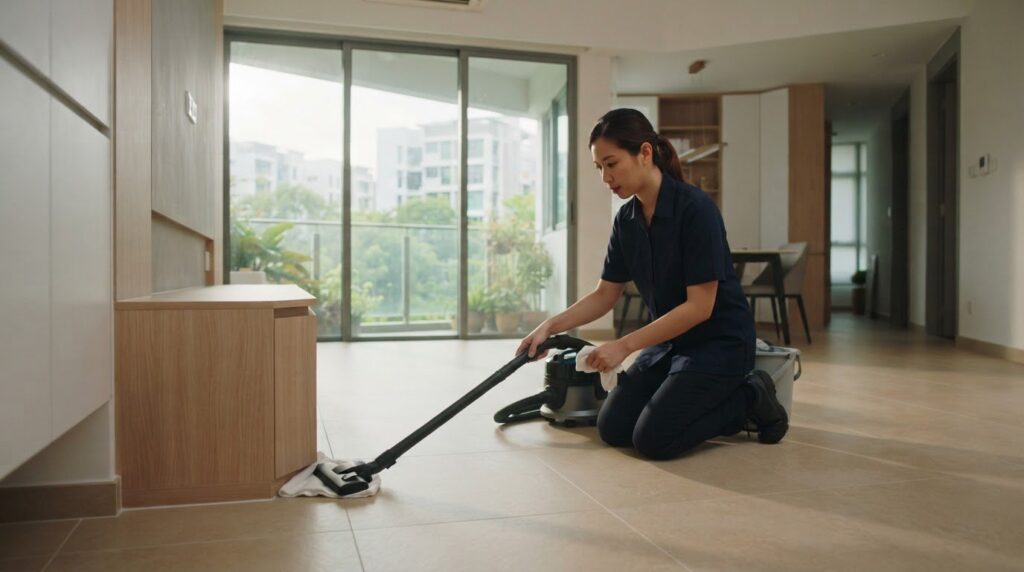
A renovation can look complete while fine dust is still settling through the home for days. Post-renovation cleaning in Singapore removes that dust and renovation residue from surfaces, fixtures, floors and hard-to-reach areas, then leaves the space ready for the next stage. This complete guide to post-renovation cleaning in Singapore explains what the work involves and how to remove dust safely and methodically.
It’s easy to underestimate the clean-up: dust can resettle after wiping, while paint or grout residue may need a different approach from everyday dirt. Learn how to work from top to bottom, which areas need attention, and whether to clean yourself or hire help. The steps below cover preparation, room-by-room cleaning and final checks to help you avoid repeating work.
Key Takeaways
- Match DIY or professional cleaning to the renovation’s scale, the residue left behind and the time you can set aside.
- Use a top-to-bottom cleaning sequence so dust and debris don’t settle on surfaces you’ve already cleaned.
- Pay attention to overlooked areas such as cabinet interiors, window tracks, light fittings and floor edges.
- Plan the clean around renovation handover and furniture delivery to keep the space accessible for detailed work.
DIY cleaning compared with professional services
Choose DIY for manageable residue and available time; consider a professional team after extensive fit-out work. Use these steps to decide who handles the clean and how to protect finished surfaces.
-
Clarify Who Covers the Cleaning
Read the renovation agreement and handover scope before arranging a clean. Post-renovation cleaning isn’t automatically covered by the renovation contractor; the written agreement determines whether it’s included. If the scope excludes it, the homeowner needs to arrange the clean. Identify specific tasks, such as removing paint splashes or wiping cabinet interiors, so both parties understand what the handover covers.
- Compare cleaning companies by their written task list, exclusions, team size, equipment and estimated time on site. For example, check whether the quote covers cabinet interiors, window tracks and residue removal, rather than only general floor and surface cleaning. A typical 4-room HDB flat takes 2-3 days to clean DIY, while a professional team can often finish Singapore flats within a day.
-
Avoid Damage During Residue Removal
Test a small, hidden area before removing paint or adhesive residue from a finished surface. Abrasive pads and careless scraping can scratch glass, acrylic, polished stone, laminate and coated metal; strong rubbing can also mark new paint. Use a soft cloth on delicate finishes and match the method to the residue. Don’t scrape grout or tile edges with a metal blade.
- DIY cleaning may suit light work, such as repainting or minor fixture changes, if you can clean methodically. After a full renovation with new flooring, carpentry, tiling or extensive fit-out work, consider the equipment, time and experience needed for a thorough clean.
What Is Post-Renovation Cleaning?
Post-renovation cleaning in Singapore removes fine construction dust and residue from surfaces after renovation work. This guide explains the practical scope and how to remove dust and renovation residue. Cleaning time and cost depend on floor area, property type and requested tasks.
- Use floor area to compare typical 2026 HDB cleaning estimates.
- Compare cleaning scopes across property types. Look for task-by-task details on cabinet interiors, window tracks and residue removal, rather than comparing headline estimates alone.
- Allow for the cleaning team’s time on site as well as the home’s size. A typical HDB post-renovation clean takes 6-10 hours; a 3-room HDB clean is estimated at 4-8 hours. A professional team can often clean a Singapore flat within a day. The actual workload changes with the amount of dust and the areas included.
- Reduce airborne dust before moving back in. Fine construction dust can keep settling from the air for days after work ends. Keep the unit ventilated during cleaning, avoid dry sweeping, and wipe surfaces with a damp cloth. Schedule cleaning after renovation handover and defect checks, before furniture arrives. For a complete guide to post-renovation cleaning in Singapore, plan dust removal around the project sequence. Include HDB renovation planning in that schedule.
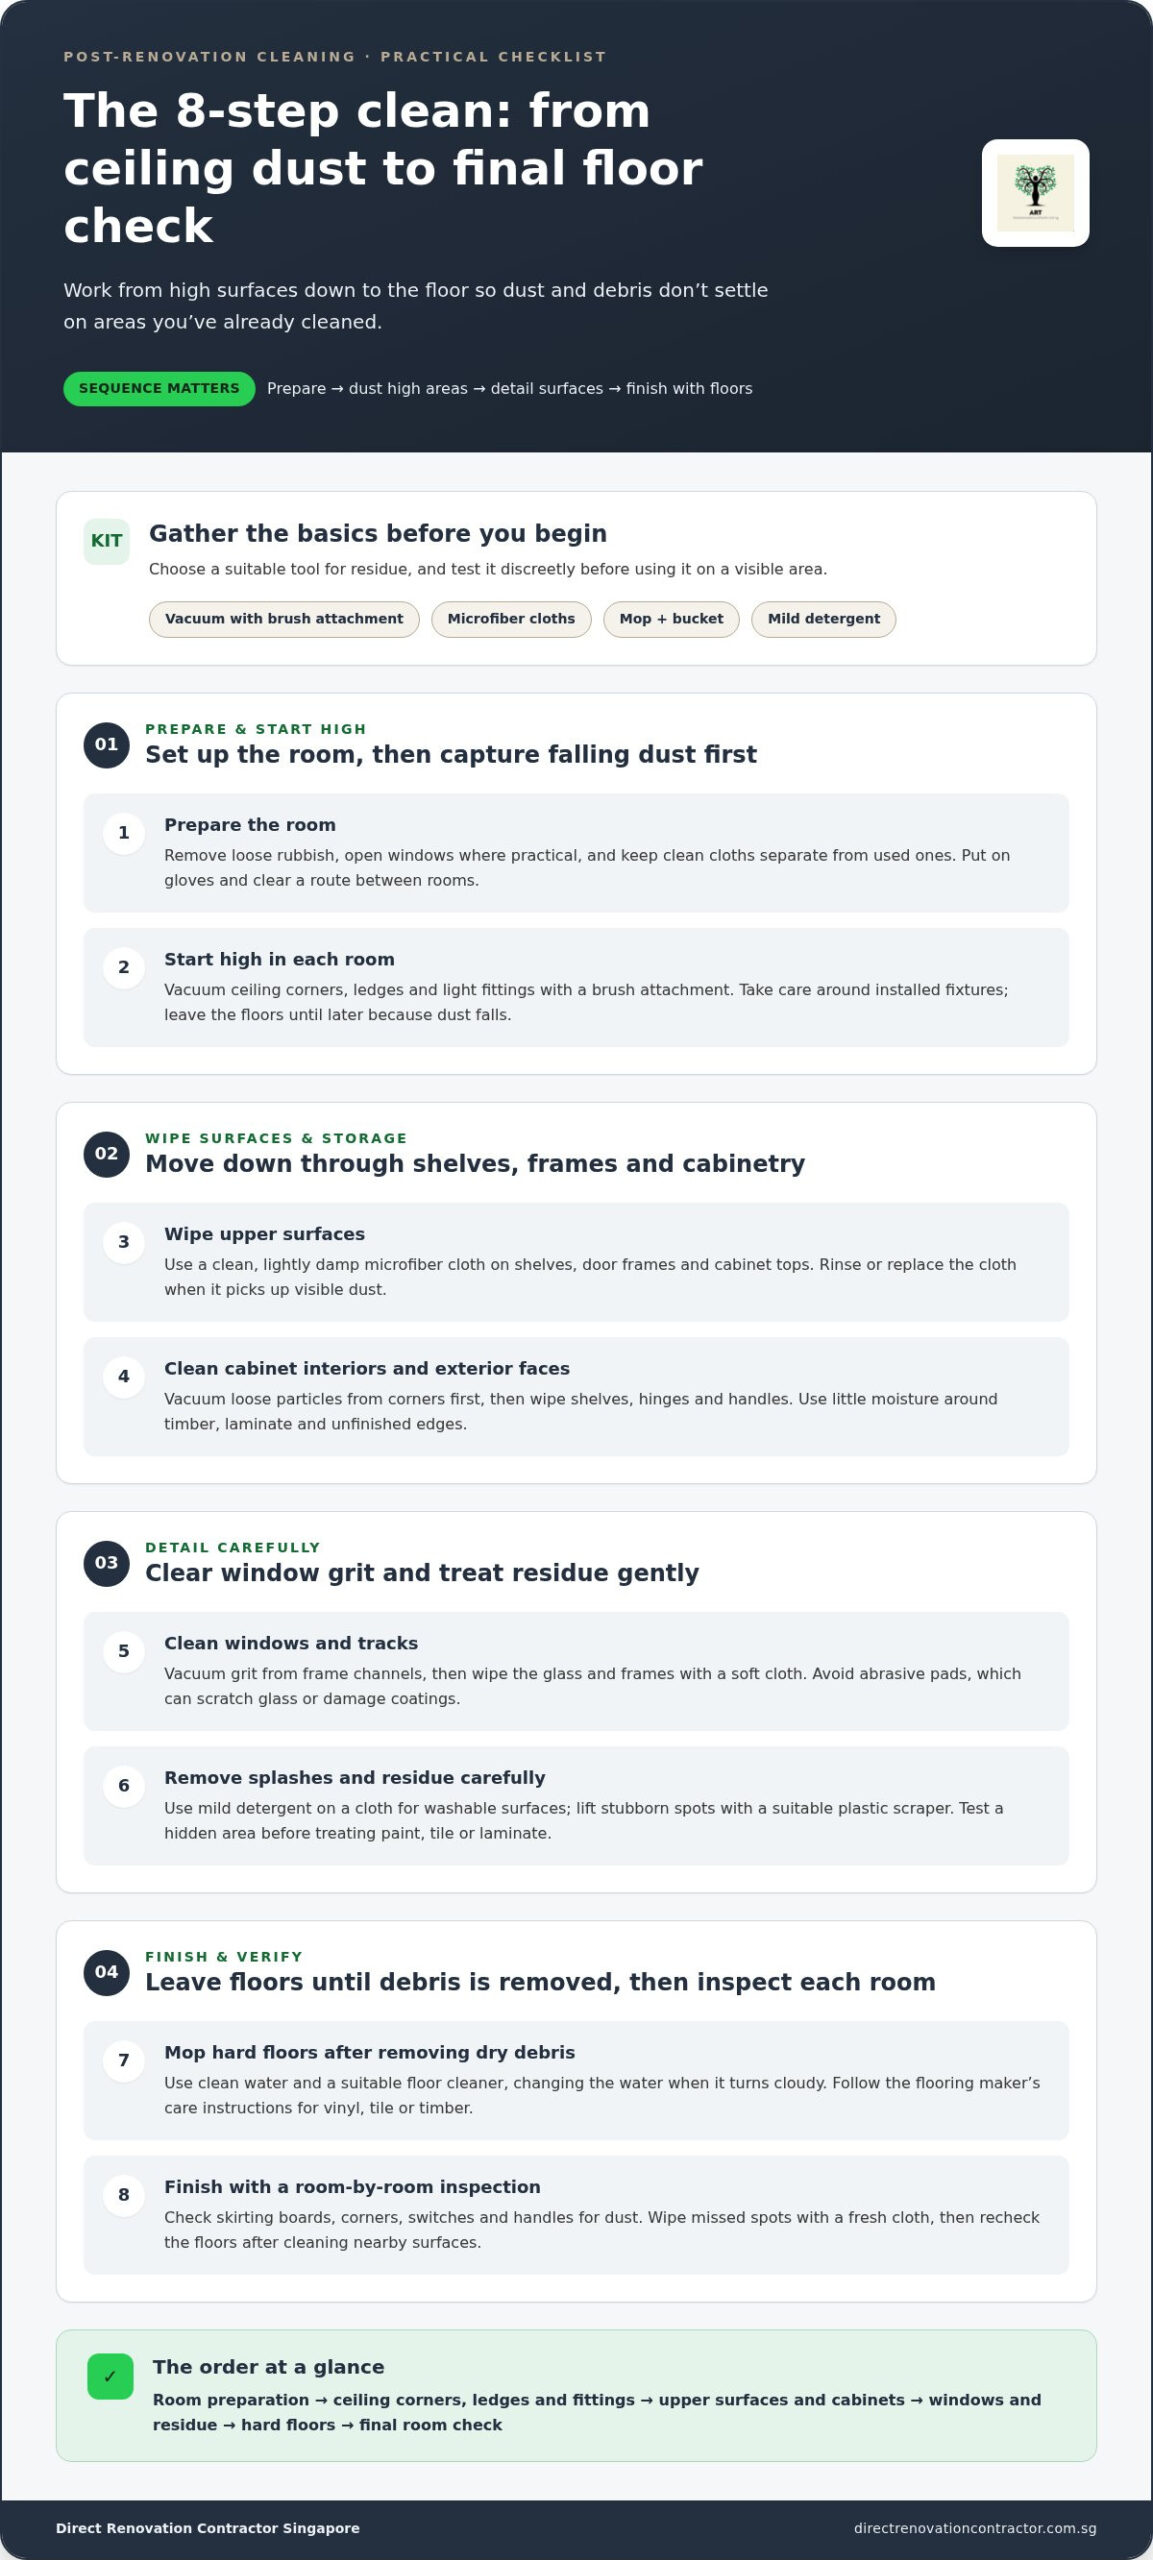
An eight-step cleaning process
Gather a vacuum with a brush attachment, microfiber cloths, a mop, a bucket and mild detergent. Choose a suitable tool for residue, and test it discreetly before using it on a visible area.
- Prepare the room before you begin. Remove loose rubbish, open windows where practical, and keep clean cloths separate from used ones. Put on gloves and clear a route between rooms.
- Start high in each room. Vacuum ceiling corners, ledges and light fittings with a brush attachment, taking care around installed fixtures. Dust falls, so leave the floors until later.
- Next, wipe upper surfaces. Use a clean, lightly damp microfiber cloth on shelves, door frames and cabinet tops. Rinse or replace the cloth when it picks up visible dust.
- Clean cabinet interiors and exterior faces. First vacuum loose particles from corners, then wipe shelves, hinges and handles. Use little moisture around timber, laminate and unfinished edges.
- Clean windows and tracks. Vacuum grit from frame channels, then wipe the glass and frames with a soft cloth. Avoid abrasive pads, which can scratch glass or damage coatings.
- Remove splashes and residue carefully. Use mild detergent on a cloth for washable surfaces; lift stubborn spots with a suitable plastic scraper. Test a hidden area before treating paint, tile or laminate.
- Mop hard floors after removing dry debris. Use clean water and a suitable floor cleaner, changing the water when it turns cloudy. Follow the flooring maker’s care instructions for vinyl, tile or timber.
- Finish with a room-by-room inspection. Check skirting boards, corners, switches and handles for dust, and wipe missed spots with a fresh cloth. Recheck the floors after cleaning nearby surfaces.
What post-renovation cleaning includes
A thorough clean covers more than visible floors. Use this eight-part checklist to define the scope and spot overlooked renovation residue.
- First remove leftover packaging, protective film and loose renovation debris. Separate reusable items from waste, and check behind doors and beneath fixed cabinets for offcuts or dust.
- Clean ceilings, cornices and light fittings where dust collects. Use a soft brush attachment around fittings, then wipe reachable surfaces without pulling or twisting installed fixtures.
- Wipe walls, doors and door frames carefully. Focus on fingerprints, fine dust and small splashes, but don’t wet fresh paint or scrub newly painted surfaces.
- Clean built-in carpentry inside and out. Wipe cabinet shelves, drawer interiors, handles and hinges. Vacuum corners first so loose particles don’t spread across clean surfaces.
- Detail windows, frames and tracks. Remove grit from track corners before wiping the glass, sills and frames. Check for adhesive marks without using a blade on coated glass.
- Clean bathroom and kitchen fittings. Wipe taps, sinks, counters, tiles and sanitary fixtures, then tackle grout haze or paint spots with a method suited to the surface.
- Clean floors after overhead and fixed surfaces. Vacuum edges and corners, then mop according to the flooring material. Check grout lines, skirting boards and the areas beneath movable appliances.
- Finish with a room-by-room inspection under good lighting. Check switches, handles, shelves and floor edges for settled dust, then record any renovation defects separately from cleaning residue. If renovation work is still being planned, plan your renovation project with the cleaning sequence in mind.
Direct Renovation Contractor Singapore: HDB BTO Renovation Packages
Direct Renovation Contractor Singapore can help you plan and manage renovation work. Its HDB BTO Renovation Packages are designed for homeowners preparing a new flat, while HDB Resale Renovation Packages, Condo Renovation Packages and Landed Property Renovation serve other home types.
The company’s DIY renovation approach provides 3D drawings and a curated list of direct contractors and material suppliers, helping homeowners organise project decisions. This can be useful when you want to understand the planned works and arrange the renovation sequence before scheduling the post-work clean. Renovation planning and cleaning are separate tasks, so include cleaning in your handover schedule. For practical advice on planning the handover and checks before move-in, see the guide to what to do during and after your renovation.
For renovation planning, contact Direct Renovation Contractor Singapore or visit its website.
Plan the next stage with confidence
Plan the renovation handover and move-in around the condition of the finished home. Leave time to inspect completed work, note defects and schedule the final clean. This helps prevent cleaning from becoming a rushed last-minute task, especially when renovation work and furniture arrangements overlap.
Use this guide to post-renovation cleaning in Singapore as a practical reference while planning your home project. Direct Renovation Contractor Singapore helps homeowners organise renovation work for different property types. When planning your renovation, include the cleaning stage in your handover and move-in plan.
For a straightforward discussion about your renovation plans, contact Direct Renovation Contractor Singapore. A clear plan gives you a practical starting point for moving into the next stage of your home project.
Frequently Asked Questions
DIY vs Professional: Which Is Right for You?
DIY cleaning may suit a light refresh if you can work methodically; extensive fit-outs or limited time may call for professional cleaning. After repainting one bedroom, you may be able to wipe ledges and floors yourself. After flooring, carpentry and tiling across a flat, consider the equipment and labour required. Decide based on the scale of the renovation, the residue, access to high or tight areas, and the time you can set aside.
What does post-renovation cleaning in Singapore include?
Post-renovation cleaning covers fine construction dust and residue on the home’s surfaces, fixtures and floors. Check the task scope for details such as cabinet interiors, window tracks, light fittings, skirting boards and grout lines. For example, cleaning open shelves may not include drawers or appliance interiors. A written, room-by-room scope makes it easier to identify areas that still need attention before furniture arrives.
How much does post-renovation cleaning cost in Singapore by home size?
Compare the stated cleaning scope alongside floor area.
What factors affect post-renovation cleaning prices in Singapore?
Prices depend on floor area, layout, cleaning scope, and the amount and type of residue. A unit with extensive cabinetry, window tracks and tiled surfaces needs attention to more details than an open, uncluttered space. Requested tasks, such as appliance or window cleaning, can also affect the scope. Compare quotes line by line, including inclusions and exclusions, to understand what each estimate covers.
How to remove fine construction dust from walls, ceilings, floors and furniture?
Start with ceilings and high ledges, then work down to furniture and floors. Vacuum corners and fittings with a brush attachment, then use a lightly damp microfiber cloth on suitable surfaces. For example, vacuum each bookshelf shelf before wiping it, or loose dust may smear. Change the cloth as it collects dust, and vacuum floor edges before mopping to avoid spreading grit.
How to safely remove paint, grout, cement and silicone residue after renovation?
Match the removal method to both the residue and the surface. If the finish allows, lift a small paint spot with a damp cloth. For hardened residue, test a plastic scraper on a hidden area first. Brush loose cement or grout dust away before wiping. For silicone, carefully ease an edge with a plastic tool. Avoid abrasive pads and metal blades on glass, laminate or fresh paint.