
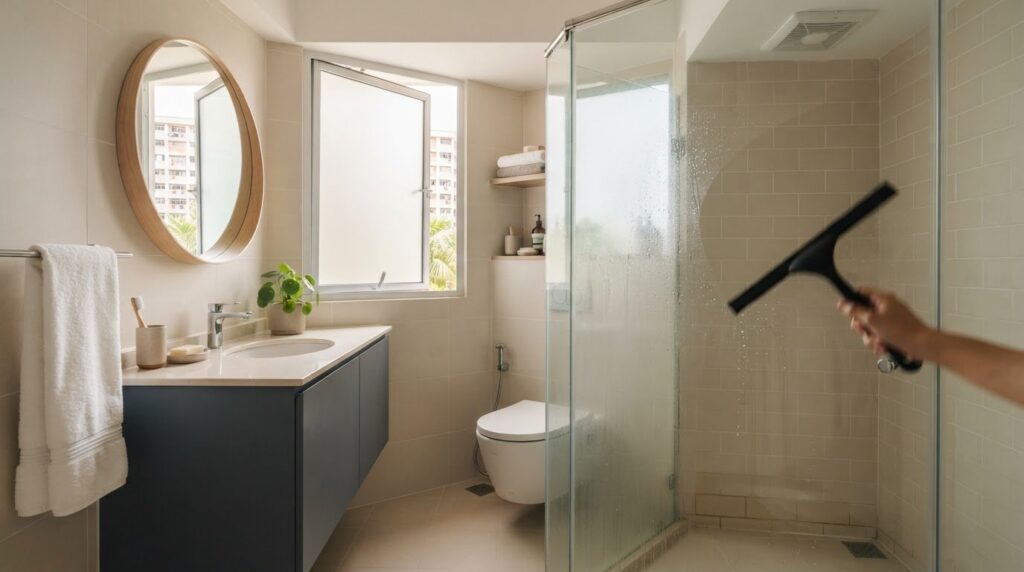
What if the mould returning to your HDB toilet isn’t a cleaning problem, but a moisture problem? If spots keep appearing on grout, sealant, ceiling corners or walls, scrubbing them away may only provide temporary relief. Knowing how to prevent mold in hdb toilets starts with limiting how long surfaces stay damp and checking whether a leak or another persistent source is involved.
It’s frustrating when a toilet stays damp long after a shower or cleaning, especially when you’re unsure whether poor ventilation, condensation or plumbing is to blame. A consistent drying routine can help the space dry faster and make recurring dampness easier to assess.
This guide covers practical steps to clear moisture, weekly checks for early warning signs, and what to do when mould keeps returning. You’ll learn when better ventilation and drying habits may be enough, and when damaged tile joints, sealant or plumbing may need repair. The goal is a drier toilet between uses and a clearer next step if dampness persists.
Key Takeaways
- Recurring dark marks can have different causes. Check for ongoing moisture before treating them as mould.
- Learn how to prevent mold in hdb toilets by matching the response to the problem: cleaning removes residue, while airflow and drying help manage moisture.
- Use a simple weekly check to spot returning patches, peeling finishes or damp odours early.
- If dampness or mould keeps returning, look beyond routine cleaning. Plumbing, tile joints, grout, sealant or finishes may need repair.
Why mould returns in HDB toilets: identify the moisture source first
Mould can grow when surfaces stay damp. A dark mark alone doesn’t prove mould, though: dirt, staining or wear can look similar. Scrubbing may remove visible growth, but it won’t prevent it from returning if moisture remains. The first step in learning how to prevent mold in hdb toilets is to consider whether dampness follows showering and slow drying, or whether a leak or failed seal could be involved.
Shower steam can settle on cooler surfaces, especially when humid air has nowhere to go. If the toilet stays damp after bathing, slow drying or limited airflow may be contributing. A localised patch that stays wet, or a mark that repeatedly returns in the same place, deserves closer attention. Indoor mold can develop in damp conditions, but a mark’s appearance alone can’t identify its cause.
Where mould commonly appears in an HDB toilet
Check grout lines between tiles, silicone sealant around a shower or basin, and ceiling corners where airflow may be limited. Moisture can also collect behind or beneath fixtures, where it’s easy to miss during routine cleaning. Note whether a spot returns after cleaning and whether the surrounding surface looks or feels damp. A recurring patch is worth monitoring even if it looks clean today.
Clues that point to condensation, leaks, or poor airflow
If several surfaces are wet after a shower and take a long time to dry, humid air may be lingering because airflow is limited. A wet patch that persists, peeling paint, damaged sealant or a recurring damp odour calls for investigation rather than repeated surface cleaning. These are clues, not a diagnosis: one symptom or photograph can’t confirm a hidden leak or show where water is coming from.
Observe when and where dampness appears. Does it follow showers and affect broad areas, or does one patch stay wet between uses? Does the same ceiling corner or joint show marks again? Record the pattern and location. If dampness persists despite normal drying, or finishes keep deteriorating, have the area assessed for plumbing or other moisture problems. Identifying the source helps determine whether better ventilation and upkeep are appropriate, or whether plumbing, tile joints, grout, sealant or damaged finishes need repair.
How ventilation and drying prevent mould in HDB toilets
Mould prevention depends on reducing how long surfaces stay damp. Ventilation helps move humid air out, while wiping surfaces removes water that airflow alone may not clear. This can make a difference in a closed, steamy toilet where air circulates slowly. The EPA’s guide to mold, moisture, and your home also highlights drying wet areas and managing moisture as key prevention steps.
There’s no single drying time that suits every HDB toilet. Airflow, room layout, weather and the amount of water left on surfaces all affect how quickly a room dries. Look for a consistent improvement: less standing water and surfaces that no longer stay damp long after use.
A simple after-shower routine to reduce dampness
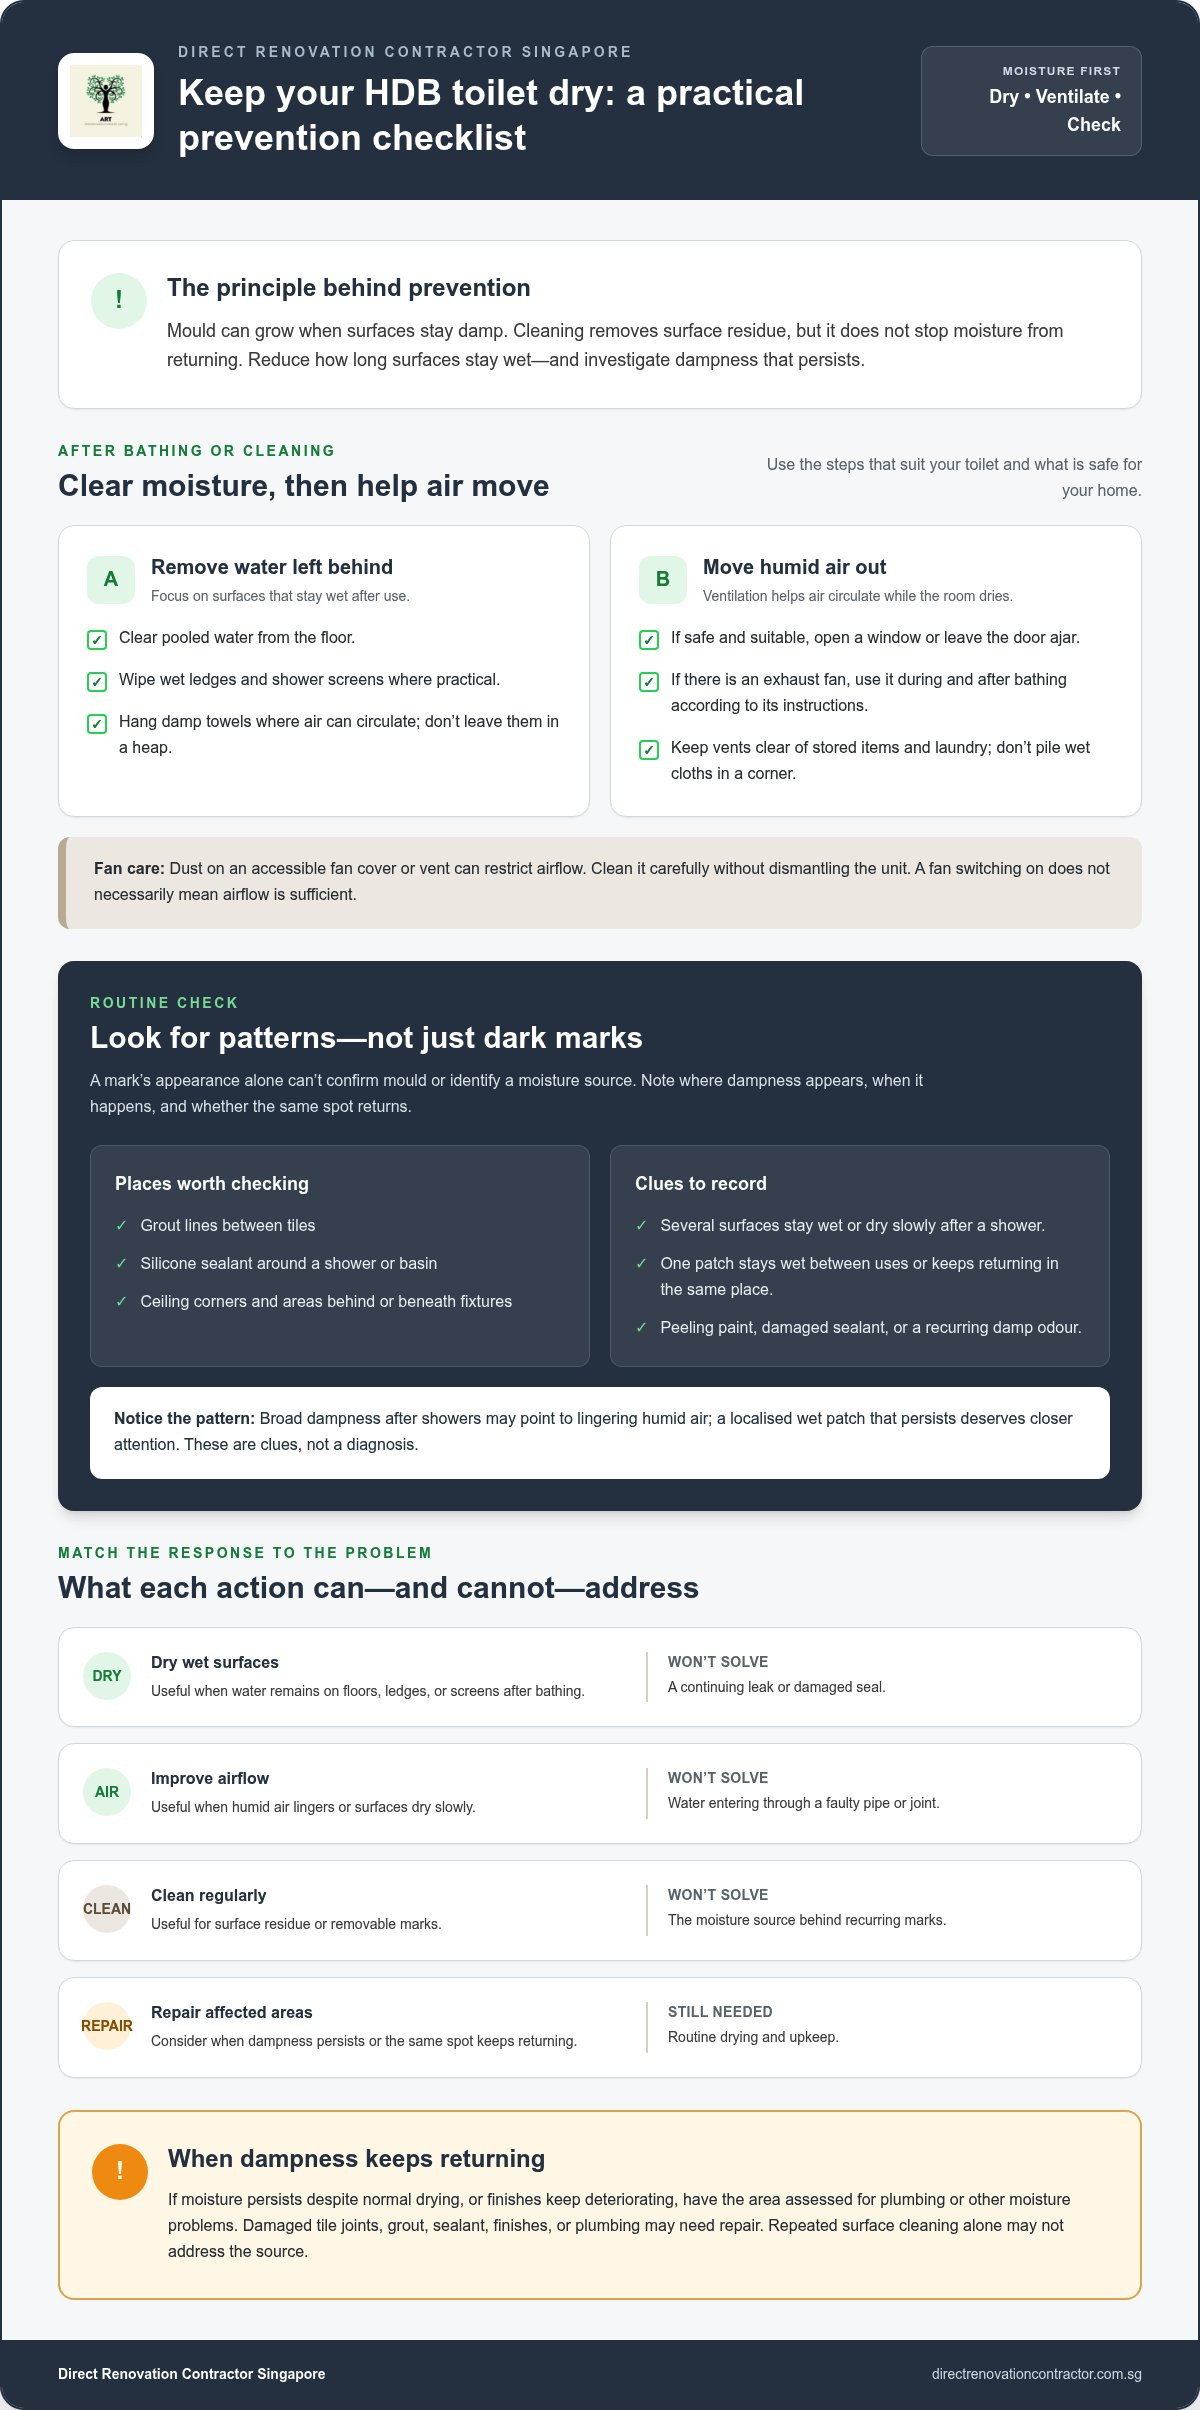
After bathing, clear pooled water from the floor and wipe wet ledges or shower screens where practical. Hang damp towels where air can circulate around them instead of leaving them in a heap. If it’s safe and suitable for your home, open a window or leave the door ajar to help air move through the space.
Keep airflow moving while the room dries. Avoid blocking vents with stored items or laundry, and don’t leave wet cleaning cloths piled in a corner. These small steps help remove moisture instead of letting it sit on surfaces.
Use ventilation without trapping moisture
If your toilet has an exhaust fan, use it during bathing and afterwards according to its instructions. Dust on an accessible fan cover or vent can restrict airflow, so clean it carefully without dismantling the unit. Keep other vents clear as well.
If the room still feels damp, note when it happens and whether the fan appears to move air. A short record can help distinguish a shower-related pattern from dampness that persists at other times. A fan switching on doesn’t necessarily mean airflow is sufficient; continued dampness may need further investigation.
For a practical routine, clear standing water, wipe wet surfaces, hang towels to dry and use available ventilation. Adjust the routine to the room and see whether dampness eases. If it doesn’t, ventilation alone may not address the cause. Persistent moisture linked to plumbing or damaged tile joints may call for repair work. HDB plumbing and tiling works can address these types of issues.
Which HDB toilet habits help most: cleaning, airflow, or surface repairs?
Each action addresses a different part of the problem. Drying removes water left after use. Ventilation helps humid air escape. Cleaning removes surface residue, but it can’t stop moisture from returning. Repairs matter when a damaged joint, failed seal or plumbing issue continues to introduce dampness. To learn how to prevent mold in hdb toilets, match the action to what you observe rather than relying on scrubbing alone.
| Action | Suitable situation | What it cannot solve |
|---|---|---|
| Dry wet surfaces | Water remains on floors, ledges or screens after bathing. | A continuing leak or damaged seal. |
| Improve airflow | Humid air lingers or surfaces dry slowly. | Water entering through a faulty pipe or joint. |
| Clean regularly | Surface residue or removable marks need attention. | The moisture source behind recurring marks. |
| Repair affected areas | Dampness persists or the same spot keeps returning. | Routine upkeep still needs to continue. |
Cleaning mould-prone surfaces safely and consistently
Use a bathroom cleaner that’s suitable for the surface, and follow its label and the surface manufacturer’s care guidance. Ventilate the toilet while cleaning and wear appropriate protection. Never mix cleaning chemicals, as combining products can create harmful fumes. Avoid scraping or dry-brushing suspected mould, which may spread dust. If a mark remains after cleaning, monitor the area rather than assuming its cause.
When cleaning is not enough
If a mark keeps returning in one place, consider whether dampness or a damaged grout or sealant joint may be contributing. A dark stain can also be cosmetic, so its appearance alone can’t establish the cause. Check whether the area stays wet, finishes peel or an odour persists. Repeatedly scrubbing or painting over a damp patch may hide the symptom without resolving the moisture source, which is why property owners often consult inspection specialists like mouldmen.com to better understand persistent growth and remediation options.
Prioritise a repair assessment if you suspect a leak or failed seal. Plumbing and sanitary work, such as that provided by drainage and plumbing specialists like CH Enviro, may address a plumbing-related source of moisture, while tiling and masonry work may be relevant if tile joints are damaged. Once the source is addressed, continue drying, ventilation and cleaning to keep the toilet in better condition.
A weekly HDB toilet mould-prevention checklist and early warning signs
A quick weekly check helps you spot changes early. Follow the same route each time, from ventilation points to wet-area joints, and note anything that looks different. This turns how to prevent mold in hdb toilets into a repeatable maintenance habit rather than a response only after marks appear.
A five-step weekly check for toilet dampness
- Inspect grout and sealant. Look for fresh marks, gaps, cracks or changes along tile joints and silicone edges.
- Check ceiling edges and corners. Note new spots, peeling paint or finishes that look soft or damaged.
- Look around fixtures and the floor. Check for water collecting near the basin, toilet or shower area, including after normal use.
- Check ventilation points. Make sure accessible vents and fan covers are unobstructed, and clean accessible surfaces if dust has collected.
- Record changes. Write down the date and location of any dampness, odour or recurring mark. A brief note or dated photo can help reveal whether the same area is affected repeatedly.
When recurring mould needs a closer look
Pay closer attention if dampness returns quickly despite consistent drying and ventilation. Spreading marks, a persistent damp odour, or finishes that soften or peel are reasons to investigate rather than simply clean the surface again. These signs don’t confirm a leak, but they may show that routine upkeep isn’t addressing the cause.
Keep a simple record of when the area becomes damp. For example, note whether it happens after bathing or remains wet at other times. Avoid painting over affected areas before understanding why moisture is present; a fresh finish won’t resolve an ongoing source of dampness.
If an inspection points to damaged tile joints, plumbing or deteriorating finishes, repair work may help address the moisture problem. For broader planning context, see this HDB renovation guide. For recurring dampness that may involve plumbing or tile joints, explore HDB plumbing and tiling works.
When HDB toilet mould keeps returning: repair the moisture problem
Household upkeep is a sensible first step. But if dampness returns quickly despite regular drying and ventilation, or the same area repeatedly develops spots, investigate the moisture source. Spreading marks, persistent odours, peeling finishes and wet patches that remain between uses are reasons to look beyond cleaning. They don’t prove a leak, but they suggest routine prevention may not be enough.
The aim of how to prevent mold in hdb toilets isn’t just to improve the surface. It’s to identify what keeps the area damp and address that cause. Continue practical drying and cleaning while arranging a closer assessment if the signs persist.
Possible repair areas when dampness persists
The right repair depends on where moisture is coming from and the condition of the affected area. Plumbing and sanitary works may be relevant if a leak is suspected. Damaged tile joints, grout or sealant may need attention where wet-area finishes are deteriorating. The visible mark alone can’t establish which work is needed.
Painting may help restore a damaged finish after the moisture issue has been addressed, but it won’t resolve an ongoing leak or failed joint. Renovation work should respond to the condition found rather than treating every recurring mark the same way.
Plan repair work around the cause, not just the visible mark
Before work begins, describe where the dampness appears, how often it returns and whether it follows showers or persists at other times. Dated photos and brief notes can help show the pattern. This information supports a more focused assessment of whether the issue relates to ventilation, plumbing, or the toilet’s tile and sealant joints.
A fresh coat of paint or another round of scrubbing can hide a symptom without correcting its source. If repair or a wider upgrade is being considered, this home renovation planning guide offers broader context. For practical HDB renovation support related to persistent dampness, explore HDB renovation support. Addressing the likely moisture source is a practical next step, though renovation work can’t guarantee mould will never return.
Keep your HDB toilet dry, then act on persistent dampness
Prevention works best as a routine: dry wet surfaces after use, keep suitable ventilation moving and check regularly for changes around grout, sealant, ceilings and fixtures. Cleaning can remove surface residue, but recurring dampness needs attention to its source. These are the practical foundations of how to prevent mold in hdb toilets.
If spots keep returning or finishes start to peel despite consistent upkeep, note where and when the moisture appears. That pattern can help guide the next step. Depending on the cause, plumbing and sanitary works may address a suspected leak, while tiling, masonry or painting may be relevant to repairing or restoring affected areas. The right work depends on the toilet’s condition, and renovation alone can’t guarantee mould won’t return.
For repair or renovation work related to persistent dampness, explore practical renovation support for your HDB home. Start with the moisture source, keep up simple drying habits and take the next step with confidence.
Frequently Asked Questions
How can I prevent mould in an HDB toilet?
Reduce lingering moisture by wiping wet surfaces, clearing standing water and using available ventilation after showers. Hang towels so they can dry, and keep vents unobstructed. Clean grout and sealant regularly with products suitable for those surfaces, following the label. The practical approach to how to prevent mold in hdb toilets is to combine drying, airflow and routine checks, then investigate if dampness or the same marks keep returning.
Why does mould keep coming back in my HDB toilet?
Mould may return because the surface keeps getting damp, even after cleaning. Shower steam and slow drying can leave moisture on ceilings, grout or sealant. A leak or damaged joint may also contribute. Note whether marks reappear in the same spot and whether the area stays wet between uses. A dark mark isn’t always mould, and no single symptom confirms a hidden leak, so persistent dampness may need assessment.
Does an exhaust fan prevent mould in an HDB toilet?
An exhaust fan can help remove humid air, but it won’t prevent mould on its own. Use it during bathing and afterwards according to its instructions, and keep the cover and nearby ventilation openings clear of dust or obstructions. Wipe pooled water from surfaces as well. If the toilet remains damp despite using the fan, note when it happens and consider whether airflow is restricted or another moisture source needs investigation.
Can I use bleach to remove mould from toilet grout?
Use bleach only if its label says it’s suitable for the grout and surface, and follow the directions carefully. Ventilate the toilet and use the protection specified on the label. Never mix bleach with other cleaners, as this can release dangerous fumes. Cleaning may reduce visible marks, but it won’t fix recurring dampness or damaged joints. If marks persist, check the moisture source rather than repeatedly applying chemicals.
How often should I check my HDB toilet for mould?
Include a closer check in your weekly toilet-cleaning routine, and notice changes during normal use. Look at grout, silicone joints, ceiling corners and areas around fixtures for recurring spots, damp patches or peeling finishes. Check that ventilation openings remain clear. If you find a change, record its location and date. That simple record can help show whether the same area is affected repeatedly or whether dampness follows showers.
What should I do if mould keeps returning after cleaning?
Don’t rely on repeated cleaning as the only solution. Check whether the area stays damp, whether a tile joint or sealant is damaged, and whether the marks return in the same place. Keep notes or dated photos, but don’t assume they prove a leak. If moisture persists, have the area assessed. Depending on the cause, plumbing and sanitary work or repairs to tiles, grout, sealant or finishes may be needed.
Can poor ventilation cause mould in an HDB toilet?
Yes. If humid air from bathing lingers, moisture can settle on surfaces and take longer to dry, creating conditions that encourage mould growth. Use an existing exhaust fan as instructed, keep vents unobstructed and open a door or window only if safe and suitable for your home. If dampness continues despite better airflow and drying, poor ventilation may not be the only factor, so look for signs of a persistent moisture source.